Well hello there!! I hope you had a wonderful Thanksgiving week! We had such a fantastic time, but there wasn’t much resting, shopping or decorating going on.
Just a lot of this:

And this:

And this!
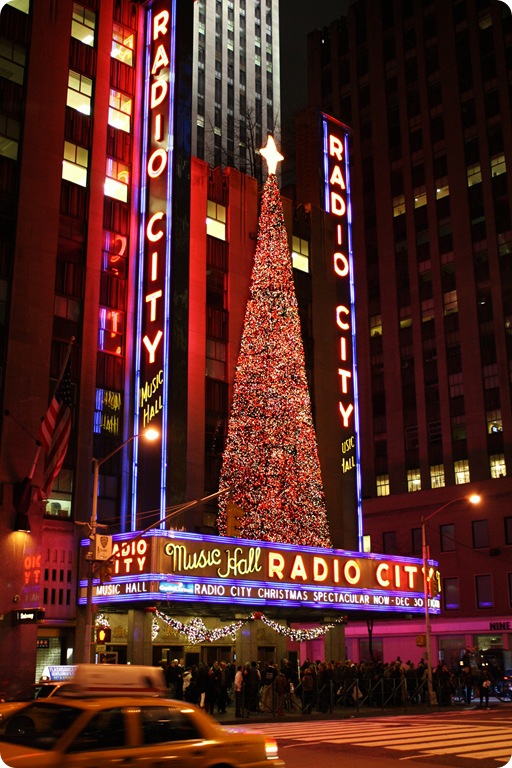
And watching our sweet Bub experience many firsts – first subway ride, first musical, first trip on an airplane:

That’s him watching our plane pull up to the gate. Giddy. Adorable. :)
Since we’ve returned, I’ve finally done a bit of resting (cause NYC kicks my booty!), way too much shopping and some Christmas decorating. I started with the mantels to kick off our Holiday Home linky parties!:

The first one goes up Tuesday at noon over at Layla’s place. :)
I’ve discovered the perfect recipe for Christmas decor that I luuuurve. It’s so simple – greenery, red stuff and a few touches of nature. That’s it. I mix up those three and I’m one happy chick.
I’ve also discovered I love fluffy greenery so much it’s just sick. I need someone to stop me from adding and adding and fluffing and fluffing…big fat greenery makes me HAPPY. :)
My mantels haven’t changed much since last year, I just added a little more greenery (shocking) and some HomeGoods finds. The base started with some basic greenery I’ve had used for years. But it needed some poofing, so last year I found some fantastic greenery at Big Lots of all places, and I’m kind of obsessed with it. I got a few more this week:


I just snip it apart and stick it in here and there in the basic, cheap greenery. It works GREAT and makes it look so much more expensive! In my opinion full and fluffy equals expensive looking.
After that, it’s just more fluffing and adding – sticks:


Beady stuff, dollar store ornaments and pinecones:

And there. you. go. I would stuff a cat in there if it would stay, seriously. I just can’t stop. :)
A few weeks ago while shopping for my Mom Cave, I found an adorable (big! lighted!) reindeer for $20, so I paired him with my little red adorable reindeer I found at HomeGoods last year:


By the way, I saw that exact same large reindeer at Pier 1 for I think $60? It’s identical! Whoohoo!
My dollar store stars (from last year) hang from the ironwork, and it’s done:

Ugh, that fluffy garland just rocks my world. I love it!
Upstairs, I did almost exactly what I have in years past, but couldn’t resist a bit more fluff, of course.
Because I try to use what I have as much as possible in Christmas decor, I wanted to keep the current stuff up there, but the garland kept falling off around it. I picked up some Command Strips at True Value and laid a couple right on the top of the mantel:


I just hooked the greenery to it and it worked perfectly!
Here’s a shot of the difference some fluffing can do – on the left, I’ve started stuffing my Big Lots good stuff in. On the right, it’s just the basic garland:

Here it is again, with a bunch o’ stuff thrown in:

Again, I just add till it looks right – ornaments, pinecones, the cat, whatever!
A few years ago, I got some cheap wood letters from the craft store, painted them red and then hung them from ribbon. I hang them from my wallpaper art every year and it’s such a big impact for so cheap!
Instead of hot gluing them like usual, I picked up some tacks from True Value and used those to secure the ribbon to the backs of the canvases:

And that’s it!
I just love the bright red against the black!:

RED makes me SMILE. :)
Our bedroom mantel, transformed with some greenery and a few changes to what we already have:
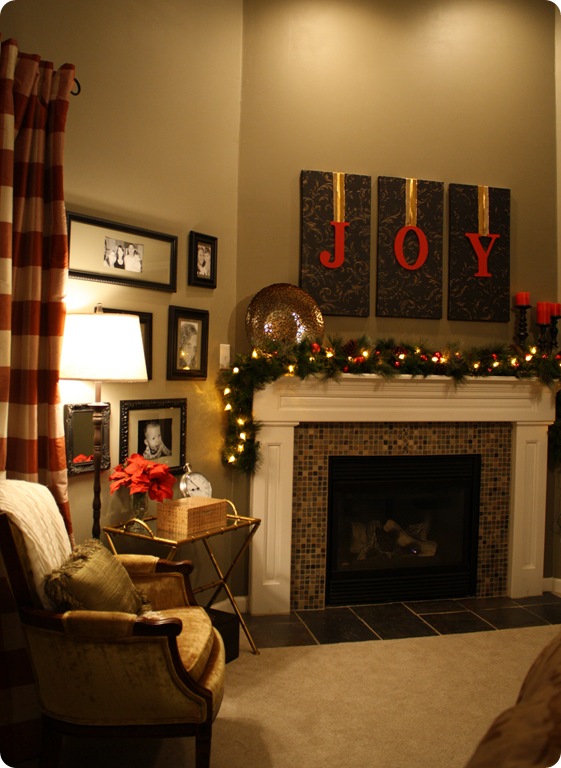
YES, I know…the cord. It’s giving me hives. But I have two more trees to get up and ten more bins to empty, umkay? Priorities people. But OH YES, it will be covered…

The candles are fake, no worries. :)
And of course, I love them best at night:


Ahhhh…that’s the magic!! :) LOVE. Be sure to link up tomorrow at Layla’s. I can’t wait to see what you’ve created!
P.S. I think I said “fluff” 89 times. Or so.
*I was one of the bloggers selected by True Value to work on the DIY Squad. I have been compensated for my time commitment to the program as well as my writing about my experience. I have also been compensated for the materials needed for my DIY project. However, my opinions are entirely my own and I have not been paid to publish positive comments.*
Thank you to my sponsor!: