Cuidado de los muebles de hogar

Mantenimiento

Es de ayuda saber que hay ciertas cosas que usted necesita esperar de los muebles de hogar.
Los muebles que usa en su casa, especialmente aquellos hechos de madera, tienen un tiempo determinado de vida. Tarde o temprano usted va a tener que despedirse de su silla favorita o su mesa de comedor. Sin embargo, si entiende algunos de los principios básicos del cuidado de los muebles del hogar, puede prolongar la vida útil de los mismos.

Muebles de madera
La mayoría de los muebles de hogar están hechos de madera y esto debe darle la idea de que no todos los muebles son duraderos. Un material con el que debe tener cuidado es la madera maciza. Los muebles de madera maciza son generalmente más pesados y difíciles de reparar cuando están dañados. Busque muebles de madera de roble en su lugar. La madera de roble es de confianza debido a su gran resistencia contra el ataque de hongos e insectos.
Leer más de este posteo

Ascensores unifamiliares

Equipamiento

Movilidad y conveniencia.
En los últimos años, los ascensores unifamiliares son cada vez más populares ya que proporcionan mayor movilidad y comodidad. Estos dispositivos ofrecen movilidad entre los pisos de su hogar, son convenientes, silenciosos y fáciles de operar. Además de proporcionar las mejores soluciones de movilidad a las personas con discapacidades físicas, los ascensores unifamiliares ayudan a
llevar cargas pesadas de un piso a otro.

Ascensor
Ideales tanto para propósitos en el interior de un edificio como al aire libre, los ascensores unifamiliares pueden ser fácilmente integrados en las nuevas edificaciones, así como en los edificios existentes. Un ascensor unifamiliar consta de un sistema de accionamiento innovador para garantizar un funcionamiento confiable, silencioso y suave. Puede ser utilizado con
facilidad por personas de todas las edades.
Leer más de este posteo

¿Cómo diseñar casas?

Ideas

El cómo diseñar casas puede interpretarse de varias maneras por distintas personas.
Básicamente el proceso según algunos está centrado en aspectos técnicos, herramientas y modelos de otras casas. Para otros la idea del diseño de una casa se enfoca más en las personas que la van a usar, desde sus deseos actuales a sus vivencias en la casa de su infancia. Hay una casa, para todos nosotros, que se asocia a nuestra idea de casa según nuestra experiencia.

Casa de diseño
En algunas culturas ese diseño de casa se ve como una casa icónica y en otras la vivienda tiene menos semejanza con el ícono de una casa. Hay quienes dicen que en algunos lugares o países una casa es una casa mientras que en otros una casa es un espacio habitable en una construcción con otros fines o pensada también por otras funciones.
Leer más de este posteo

The top ten of ‘10

Well, the end is near. The end of the year that is. :)

I had a great time recapping my top ten posts last year, and this year my friend Rhoda is having a whole linky party dedicated to the biggest and best projects of 2010.

So, without further adieu, here’s my top ten of this year, based on your comments! FUN!

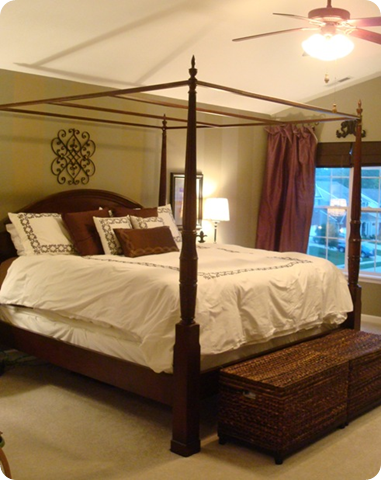
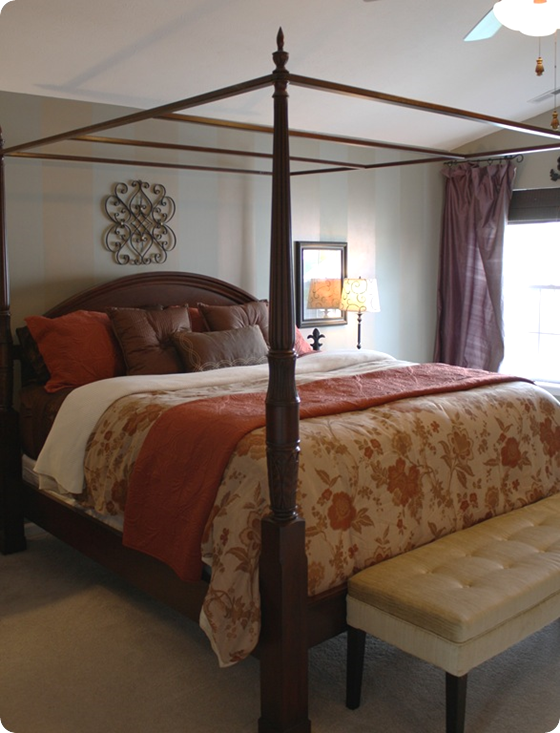
First up was the start of our master bedroom redo. It was all about the bedding and I splurged big time on it. Cause we really like to sleep. Like, a lot.

The previous $25 Ebay bedding:

Was replaced with new duds from Pottery Barn and Target:

Target bedding

We did like the old set just fine – it just didn’t fit the bed. Huh. To say we love the change is a HUGE understatement. We quite literally melt into bed every night.

There’s been quite a few more changes to the room since that post, like new lighting, drapes and accessories. You can see all of that here.

And if you want to see how I used to make our bed, click here. (It still makes me giggle to read that. And want to cry just a little bit.)

Next up was our mini family room redo:

warm family room

A new HomeGoods rug made ALL the difference in the world in there! LURVE.

Next up, a project that was FREE and made such a huge difference in our dining room. I showed you how I removed this hutch:

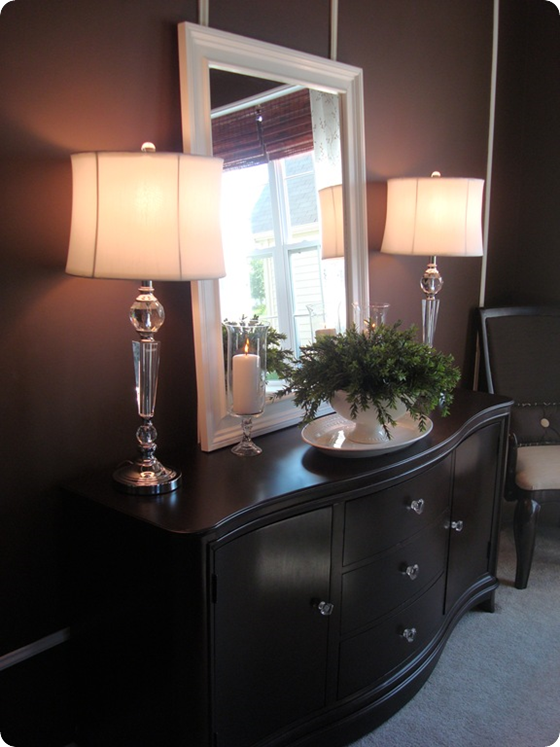
And found the beautiful buffet underneath:

dining room buffet

I framed out the mirror myself, and because everything else was so cheap, I splurged on those GORG lamps. (From HomeGoods. Shock.)

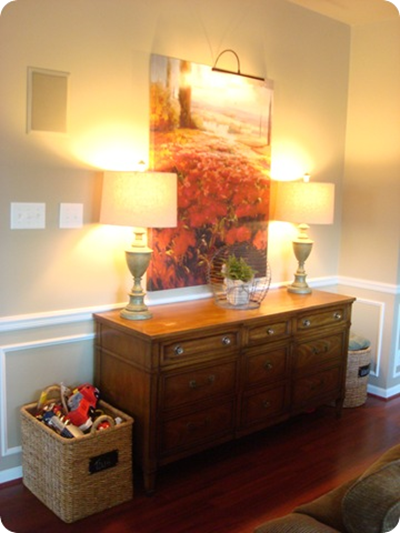
You and I both loved my incredible Craigslist find in the family room – it completely updated a wall from this:

To this:

craigslist dresser

My new-to-me Drexel dresser was only $100, and it is one of my very favorite pieces in our house now. And it holds a bunch of toys. All the more reason to love it. :)

I finished a long, long, LONG process of taking our builder-grade kitchen island:

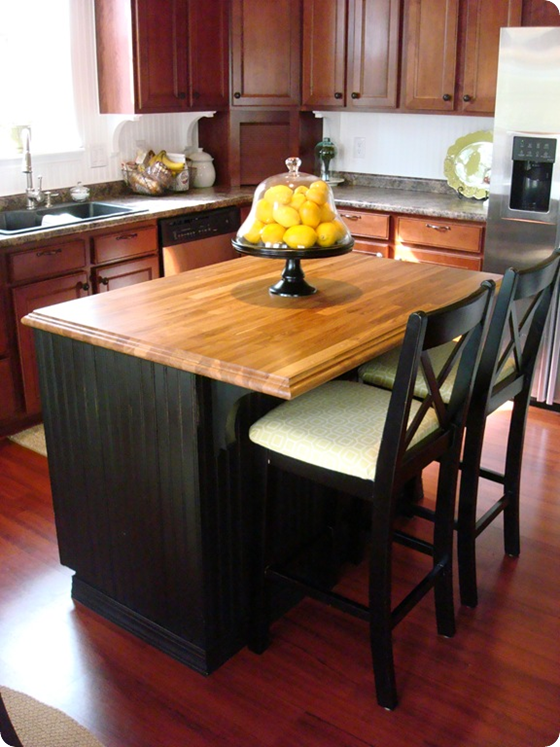
To a beadboard-wrapped, cabinet-painted, Ikea butcher-blocked one:

beadboard island

You can see the details of the transformation here, and the updates I’ve made to our kitchen this year here.

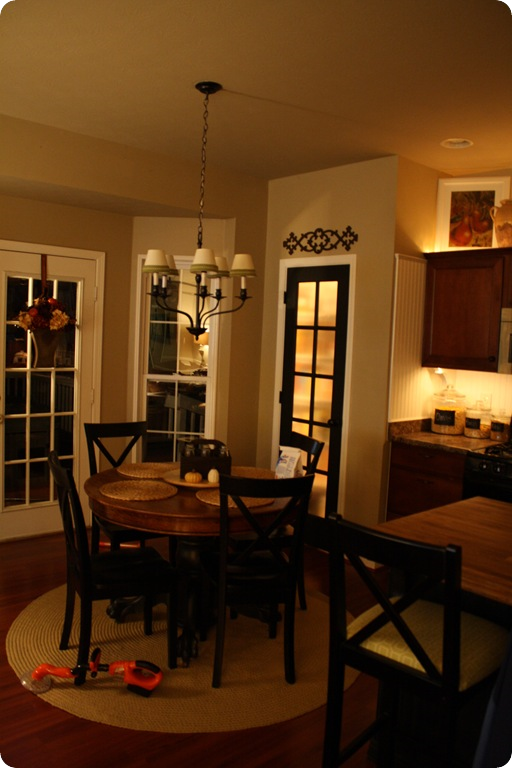
Speaking of the kitchen, you all loved when I took our basic, white pantry door and replaced it with a glass-paneled beauty:

glass pantry door

The (awful) night shot above shows it with the contact paper installed for privacy, and the light inside (which we wired up and I’ll show you soon!)

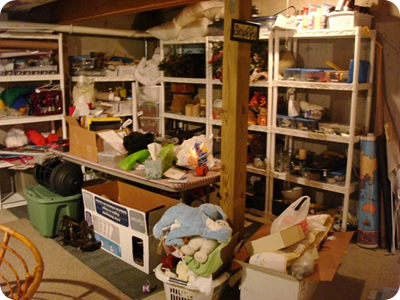
We have an unfinished basement that we treat as if it’s finished. We USE it. A lot. I showed you how my craft “room” looked before:

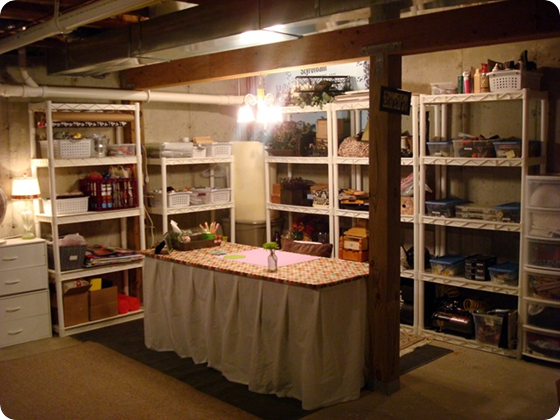
And then with some organization, fabric, and more lighting:

basement craft room

LOVE it! :) You can see more here.

The next one really isn’t a particular project, but it resonated with many of you (and me!). It was a post about STUFF:

STUFF

My father-in-law’s passing (and the week’s after) changed me. I’ve learned a lot about the STUFF and my emotional responses to it since then, and I’ll tell you more about that soon too.

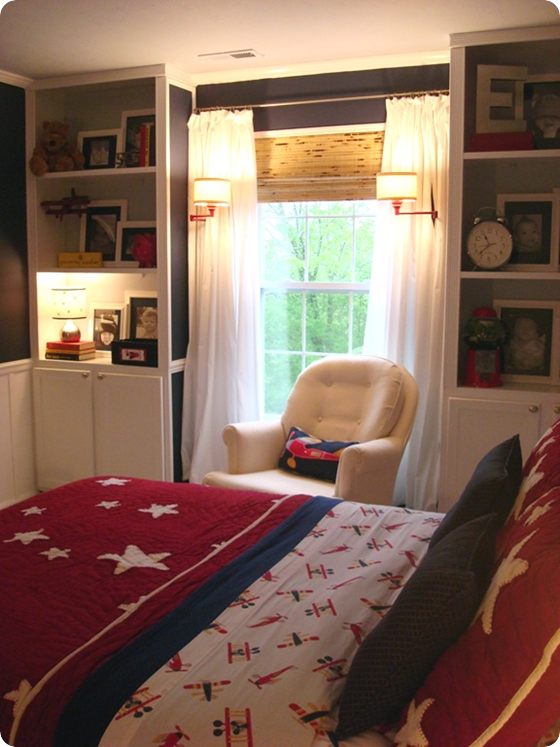
The final two projects of the year were the ones you loved the most! First, the transformation of the Bub’s nursery to a big boy (airplane) room:

airplane room 

It is so clean and classic and crisp – I fall in love with it again every day. You can see the process to redo that room here.

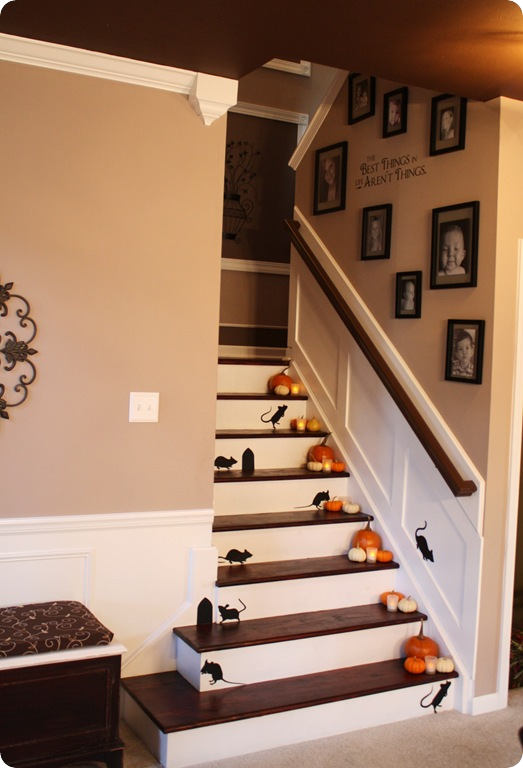
And finally, my biggest DIY project to date, that was also my cheapest. :) I love when that happens!! I took our stairs from this before:

To this, with just about $30:

ripping carpet off stairs

Well, the stairs were $30 – the molding on the wall was a bit more later, but the whole project was still under $60. It helped that I had the paint, stain, and beautiful curved treads under that carpet. ;)

BUT…all the hard work kind of evened out the money saved. :) It took some major sweat and TIME.

I’d do it all over again though – it’s still my very favorite project I’ve tackled in our home. SO WORTH IT. You can see the whole slew of posts about the stairs here.

Well, there. you. go. The top ten projects here at TDC, determined by your comments. It’s been a GREAT year! Did you have a favorite? What did you tackle that made the biggest impact in your home/life?

Check out Rhoda’s party for inspiration for NEXT year! :) If I don’t talk to you before then, have a very, very happy, fun and SAFE New Year!!


Thank you to my sponsor!:

Office update and the plan

IMG_2593

Well hello! I’m back with another update on my office redo. I’ve mentioned before that I had only one goal in mind when redecorating this space – making it BRIGHT.

And whooowee, it’s working! :) I’m SO thrilled with the direction it’s going.

Last time I updated, I showed you the difference a coat of primer and a couple coats of white did to the space:

image

OH my. Night and day. Get it? Dark room = night. Light room = day. Har.

Anyway, next up was to paint the ceiling and the upper third section of the walls. After visiting the paint section at True Value, I found what I just what I was looking for. It took a while though:

photo (2)

Yowza – HUGE selection.

I used my inspiration fabric and found two colors that matched perfectly! The first was the ceiling:

IMG_2601

I have to tell you – I hadn’t used Dutch Boy paints till I started this redo. But I am in love. I am SO impressed with how well it covers.

The kind I got had a primer in it, but I still thought I’d have to use two coats. I had only used one coat of white primer over the (red) ceiling, (yes, red), and didn’t think there was any way one coat of blue would completely cover the red/primer:

IMG_1975

(YES. The ceiling was red.)

But it covered in in one coat, easy peasy. I painted it at night, (hence the bad night picture) and was sure when daylight came I’d have to do another coat.

NOPE! Love love LOVE!

I chose a beautiful light blue called Purify. Here’s the formula if you’d like to try it out:

IMG_2602

(By the way, remember to always use a flat paint on your ceiling!)

I gotta give more props to “my” True Value – every time I get a paint mixed there, they keep record of it under my name. No more looking through the blog to figure out what the color of my walls are!  ;)

Then it was onto the upper part of the walls. I picked a sand color that matched the brown in the fabric exactly. Again, I started painting at night, and right away I knew it was way too dark:

IMG_2246

It was a true sand color. I mean, like the beach was on my walls, sand. I stopped at one wall that night so I could see it the next morning. But when I saw it in the light, I was still sure it was too dark.

We had the Bub’s birthday party a couple of days later, and I was completely outvoted – everyone loved the darker tone. :) I tried living with it, but it just wasn’t what I was going for.

A friend suggested maybe I should try the color of our family room:

image

It’s called Sisal and I big fat puffy fluffy heart love it. It’s my favorite neutral. So I had it color matched, but lightened 25 percent.

Helloooo! It was perfect!

It’s hard to tell in this picture, but the new, lighter color is on the left, the darker version is on the right:

photo

I know the colors don’t look that different in the picture, but trust me. Or it could be just me – very possible. :)

Here it is against the lovely blue ceiling:

IMG_2597

Sigh. It’s so PRETTY. (Don’t worry, crown molding will cover that red.)

I love the colors with my DIY pendant light:

IMG_2590

Giddy. :) :)

So, here’s the low down on the changes to come in this space…as you’ve seen, I moved my farmhouse desk to this side of the room:

IMG_2580

Before it was squished into the other corner. I love this set up -- I can be on the computer or working and still see what’s going on in the family room and kitchen.

This is the plan for the bottom two thirds of the wall:

yedow-04_077

(source)

Be still. my heart. :)

The window corner will get the following:

windows

I’ve tried moving my rattan chair over there, but then I can’t get to the windows to open the shades and let the light in. :) So my dream plan would be to build a set of window seats in that spot.

Not sure how that’s gonna happen.

Dad? Hello?? ;)

Of course, the windows will get treated with this beautiful fabric:

image

I can’t remember if I got enough of the stripe or the paisley for the windows. It will be a surprise for all of us. :) (By the way, I got the fabric at Joann’s.)

My Pier 1 chair sits where the desk used to sit:

corner

When I bought that chair years and years ago, I wanted the ottoman but didn’t have the money. Guess what I found a year ago at Goodwill? Awww yeah – the matching ottoman! For $10!

Once I get those cushions covered, I think that rattan texture will be perfect in the space.

Finally, the Bub’s old dresser now serves as storage:

dresser

And now that it’s up against the white, I know I want some contrast. Just not sure what color it will be.

I did find a gorgeous, stunning dresser on Craigslist, but it’s much wider. If I get it, the chair would have to move to the window corner. It’s a sacrifice I may just have to make, cause it is GORGEOUS. Ack!

That is, if it’s not sold already. Crossing fingers and toes! For now I’m planning on not having it, just in case.

So that’s the plan for the rest of this redo! I put off the painting for eight months, and now I know why. :) It took one coat of primer on four walls and the ceiling, two coats white, and a coat on the ceiling and upper walls. Yikes. That’s a lot for me, who usually does one coat and done. :)

But if I’ve said it once, I’ve said it a trillion times – paint absolutely transforms a room! The before:

image

And now:

office

Fear not color lovers – there’s plenty coming. I plan on adding punches in the art -- I’m so stinking excited about that part! And I’m thinking about one more accent color…haven’t decided on that yet.

And I am SO looking forward to having such a serene space!

I need it. This is what I look at as I type tonight:

IMG_2603

Ummm. Wow. Just…wow.

(Think we have enough remote controls??)

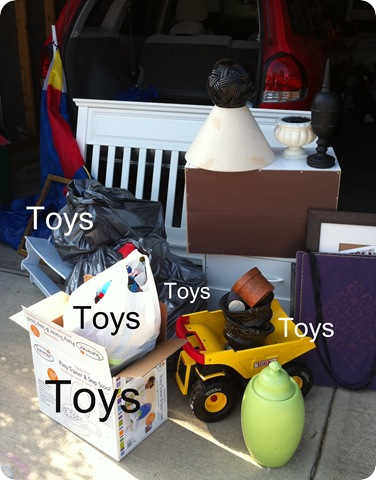
A Christmas/toy store/trash bin BOMB went off in my family room. Actually, my whole house. Glad I’m done painting the office – I’ve got plenty to do. ;)


*I was one of the bloggers selected by True Value to work on the DIY Squad. I have been compensated for my time commitment to the program as well as my writing about my experience. I have also been compensated for the materials needed for my DIY project. However, my opinions are entirely my own and I have not been paid to publish positive comments.*


Thank you to my sponsor!:

 
coompax-digital magazine